Our Newsletter
Sign up for our e-mail newsletter and stay informed for what’s next on the horizon.
Installing a new hard drive might seem intimidating, but it’s not as complicated as you might think. We’re here to assist you step by step, from choosing the right drive to the final setup.
Along the way, we’ll clarify some misconceptions and provide you with some valuable advice to make the process easier. Why hire an expert when you can handle it yourself, correct? Stay with us and in no time, you’ll be proficient in hard drive installation.
What exactly do you require to initiate this process? Let’s determine it together.
Isn’t it satisfying to increase your computer’s storage capacity on your own?
We’ve led you through the process of selecting the appropriate hard drive, gathering the necessary tools, installing it in both desktop and laptop, and preparing the drive for use.
All that’s left is to set up your new drive. Just remember, with the extra storage, what amazing projects will you start or games will you conquer?
Here’s to seamless functioning with your newly installed hard drive.
Choosing the appropriate hard drive is pivotal, taking into account its intended use, your preference for performance, where SSDs shine, or storage capacity, an area where HDDs excel. If fast operation is a priority, SSDs, or Solid State Drives, are superior to HDDs, or Hard Disk Drives. They operate more swiftly, produce less noise, and are less likely to succumb to mechanical failures.
Nonetheless, there’s a compromise to be made. Generally, SSDs provide less storage for a higher cost than HDDs. This leads us to the other aspect of our decision-making process. HDDs provide a greater quantity of storage at a more budget-friendly price, making them a popular choice for individuals who need extensive storage.
In this context, one should also validate the compatibility of your motherboard with the selected hard drive. Verify the number of free SATA interfaces on your motherboard. These interfaces are what connect the SSD or HDD to your system.
Before starting the installation process, it’s crucial to prepare all necessary tools, including a screwdriver, a fresh hard drive or SSD, and a SATA connection cable. These tools are the indispensable trio of hard drive installation; without them, we can’t move forward.
Here’s a swift overview of the function each tool performs:
Having these tools at hand aids in a seamless, interruption-free installation. Adequate preparation is the secret to success in any task, and installing a new hard drive is no different. Bear in mind, the aim here is a secure, correctly fixed drive ready for use, and these tools facilitate this.
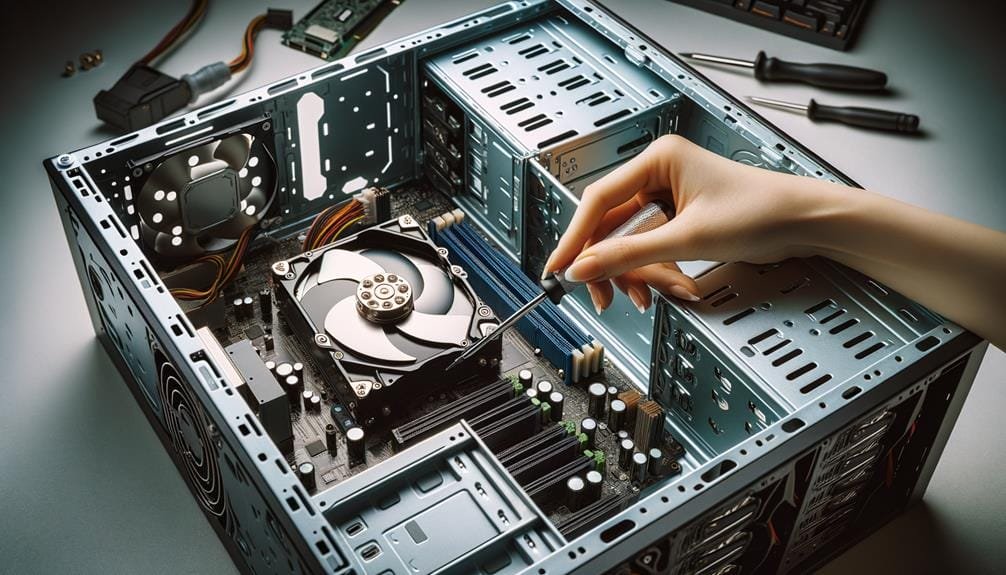
Equipped with the necessary tools, we’re set to approach the job of integrating a new hard drive into a desktop computer. Before acquiring a hard drive, it’s vital to verify its compatibility with your desktop’s motherboard. This step mitigates any potential issues that could obstruct the installation procedure.
After verifying compatibility, inspect your desktop for an open expansion slot for the new hard drive. This position is where we’ll firmly install the hard drive. Before displacing an existing hard drive, it’s always prudent to make a data backup. This action safeguards your data throughout the installation procedure.
Once you’ve obtained a compatible hard drive that suits your desktop’s requirements, we’re prepared to integrate it. We’ll adhere strictly to the manufacturer’s instructions. These directives will guide us to accurately connect the cables and ensure the hard drive is firmly installed.
For laptops, it’s crucial to verify if your specific model allows for the addition of an extra hard drive before initiating the installation process. This preliminary check ensures you won’t encounter any compatibility problems while attempting to expand your laptop’s storage capacity.
To carry out a successful laptop installation, these three steps are advisable:

After you’ve set up the new hard drive, it’s time to activate your system and start the process of readying it for use.
Initially, you need to confirm that the system acknowledges the drive. Enter the BIOS/UEFI and verify all the installed drives. If the new drive isn’t present, there’s no need to worry. The solution could be as simple as reconnecting your main drive to a diverse port using SATA cables.
When the system acknowledges the drive, a crucial step is to partition and format the fresh hard drive. This step is vital in making the drive suitable for storage. The process of partition and formatting may differ slightly based on whether you’ve set up a Solid State Drive (SSD) or a conventional hard drive.
Keep in mind, setting up the drive is just the initial step. The cables need to be firmly connected within the drive cage to guarantee optimal performance. Some drives need specific disk preparation software, usually provided by the hard drive maker. This software can provide additional help in getting your drive ready for use.
After the successful installation of your new hard drive, it’s time we move forward with setting it up for efficient use, commencing with the initialization and partitioning procedure using the EaseUS Partition Master software. This robust tool enables a streamlined setup of your new SATA drive, ensuring the computer system can harness its capacity effectively.
Here’s a three-step guide to help you:
Isn’t it gratifying to boost your computer’s storage capacity by yourself?
We’ve guided you through the process of choosing the right hard drive, collecting the required tools, placing it in both desktop and laptop, and readying the drive for utilization.
All that remains now is to configure your new drive. Just bear in mind, with the additional storage, what incredible projects will you initiate or games will you master?
Here’s to smooth operations with your newly installed hard drive.