Our Newsletter
Sign up for our e-mail newsletter and stay informed for what’s next on the horizon.
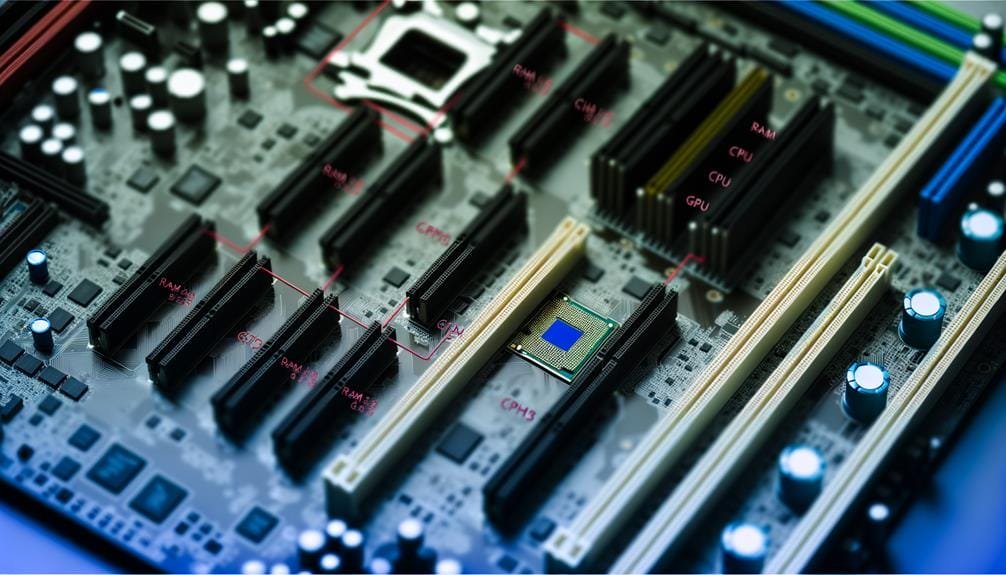
Just like a city can’t function without its city hall coordinating all the different departments, your PC can’t operate without the motherboard – the hub where all other components connect and communicate.
As you stand at the foot of the mountainous task of building your own PC, it’s crucial to understand that selecting the right motherboard is as vital as choosing the city’s mayor.
So, how do you ensure you’ve picked the best candidate? Let’s start unraveling the complexities of motherboards, and you’ll soon be navigating the terrain like a pro.
Let’s delve into the basics of a motherboard, starting with the critical understanding that it serves as the foundation of your PC build, effectively facilitating communication among all the components. This circuit board is the hub where your CPU, RAM slots, and other PC components connect and communicate, making it a vital part of your system.
Next, consider the CPU socket on your motherboard. It’s important to match this with your CPU type. For instance, LGA sockets cater to Intel processors, while AM sockets are for AMD models. Misalignment here could lead to compatibility issues, which could halt your PC build in its tracks.
The form factor of your motherboard is another crucial aspect. Whether it’s ATX, MicroATX, or Mini-ITX, it needs to fit snugly into your chosen PC case. So, always consult your motherboard manual before finalizing your decision.
Lastly, look at the ports, expansion slots, and the types of RAM your motherboard can support. You want to ensure that this main circuit board can handle all your desired PC components. Making the right choice might seem complicated, but with careful planning and a detailed understanding, you’ll be in total control of your PC build.
Selecting the right motherboard for your PC build hinges on a few key factors.
First, consider motherboard compatibility and size, ensuring it fits your case and works well with your chosen CPU.
When it comes to gaming, remember it’s often more beneficial to focus your budget on a high-quality GPU over a top-tier CPU.
How do you ensure that your chosen motherboard aligns perfectly with your CPU, case, and other requirements? Well, compatibility and size considerations are paramount in PC building. When choosing the right motherboard, ensure it matches your CPU’s socket type and chipset. If you’re building a gaming PC, prioritize a motherboard that can fit a high-end GPU.
Size is crucial too. Standard ATX motherboards fit most cases, but for smaller builds, you might need MicroATX or Mini-ITX. For larger setups, consider an Extended ATX.
Here’s a handy table:
| Motherboard Type | Size Considerations |
|---|---|
| ATX Motherboard | Fits most cases |
| MicroATX | For smaller builds |
| Mini-ITX | For compact PCs |
| Extended ATX | For larger setups |
When you’re prioritizing your GPU over your CPU during your PC build, it’s essential to pick a motherboard that not only meets the GPU’s specific requirements and interface but also supports optimal GPU performance through adequate PCIe slots and bandwidth.
Whether you’re opting for Nvidia GeForce or AMD Radeon graphics cards, the motherboard must provide ample power delivery and cooling. Look for features that enhance GPU performance, such as multiple PCIe x16 slots or SLI/CrossFire support.
If you’re considering future upgrades, ensure the motherboard is compatible with upcoming GPU technologies. Remember, your choice between AMD Ryzen or Intel Core CPUs doesn’t affect your GPU selection, but the right motherboard is crucial to harmonize your PC hardware.
Now that you’ve chosen your motherboard, it’s time to gear up for its proper installation.
You’ll begin with preparing your workspace and ensuring your components are compatible.
Following this, you’ll navigate through the installation process, troubleshoot any common issues, and take necessary steps to ensure optimal performance.
Before you dive into the motherboard installation process, it’s critical to verify that your PC case can accommodate the form factor of your selected motherboard, whether it’s ATX, MicroATX, or Mini-ITX. Consult your motherboard’s manual to see what it supports.
Inside the case, positioning the motherboard correctly is key. Apply thermal paste on the CPU cooler, then mount the CPU and GPU. Connect the power supply unit (PSU) carefully to avoid damaging any components.
Remember, preparing for installation isn’t just about the physical PC build. It’s about understanding what your motherboard supports, what your CPU and GPU require, and how everything fits together.
Don’t rush. Take control, be precise, and your PC build will be a success.
Having prepared your PC case and installed your CPU and GPU, it’s essential to focus on the motherboard and ensure compatibility with your selected components. When building your pc, you need a motherboard that matches your processor’s socket type and chipset. Consult your motherboard’s manual or the manufacturer’s site for this information.
Additionally, choose the right form factor to fit your case and accommodate the components you need. Check your motherboard’s number of DIMM slots and available ports for expansion.
A step-by-step guide can offer detailed help, but personal research is invaluable. Remember, the motherboard and processor must work in harmony for a successful build.
When it’s time to install the motherboard, you’ll need to follow a precise procedure to ensure it’s correctly and securely placed within the PC case. This installation process is critical in building a new PC.
Even after careful installation, you might encounter issues with your motherboard, which may stem from various factors like improper grounding, bent pins on the CPU socket, insecure power connections, or even faulty memory slots.
If the power button doesn’t light up, the issue might be with the power supplies. Check all connections, ensuring they’re secure.
For booting problems, inspect your solid-state drive or hard drives.
If the PC builds but doesn’t display, the problem could be with the memory RAM. Try each stick in different M slots.
Overheating can indicate issues with CPU coolers.
To ensure optimal performance during the motherboard installation process, you’ll need to make sure the motherboard is compatible with your chosen CPU. The motherboard should support high-speed RAM, solid-state drives, and an efficient cooling system.
Your PSU wattage should match the power needs of your components. For cooling, consider a liquid cooler which provides excellent heat dissipation. Utilize an extreme memory profile (XMP) for easy overclocking.
RGB lighting isn’t just for show; it can provide visual cues for system performance. These careful considerations will ensure optimal performance in your PC builds.
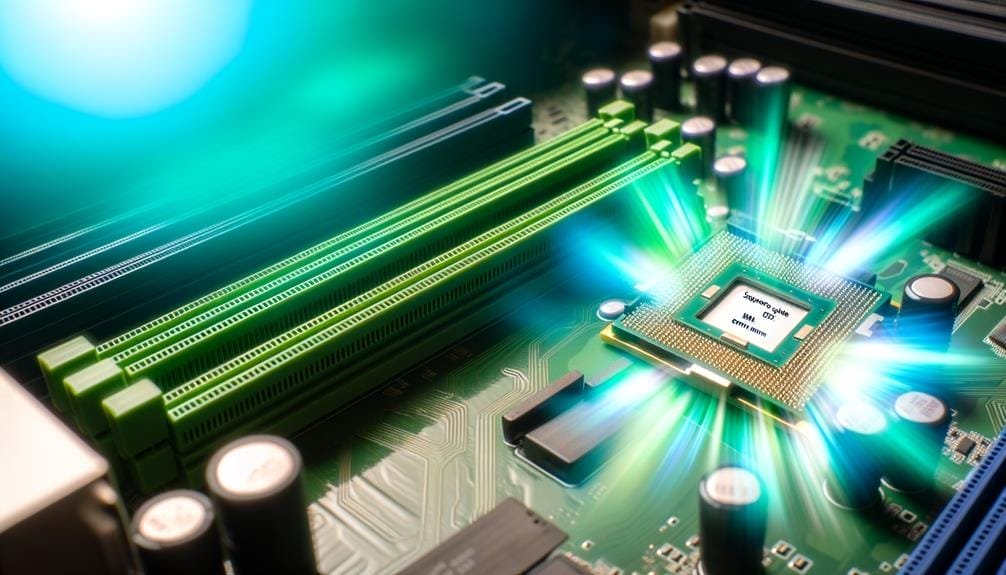
In building your PC, you need to understand chipset compatibility; this ensures your motherboard and CPU can communicate effectively.
Consider the physical size of your motherboard, which must align with your case’s form factor, from ATX to Mini-ITX.
Also, evaluate the number of DIMM slots, as this determines the amount of RAM your system can support.
When you’re building a PC, understanding chipset compatibility is a vital step, as it determines how well your motherboard will work with components like the CPU, RAM, storage drives, and expansion cards. Your motherboard’s chipset must align with the socket type of your chosen CPU, whether that’s Intel or AMD, for flawless functionality.
Here’s a simple table to help you:
| Component | Consideration |
|---|---|
| CPU | Match your motherboard’s chipset with CPU’s socket type |
| RAM | Check the motherboard’s DIMM slots and RAM type support |
| Expansion Slots | Ensure your motherboard has enough slots for your current build |
Choosing the right physical size for your motherboard isn’t just about ensuring it fits into your PC case, it’s also about guaranteeing compatibility with other components and optimal functionality of your PC build.
Motherboards come in different sizes, each offering a unique layout influencing the room inside your case. A larger motherboard might make your tempered glass case appear full, while a smaller one may leave too much empty space, impacting airflow.
The motherboard’s size also dictates where you can screw it into place, both inside and outside the case. So, when you build a PC, ensure the motherboard’s size aligns with your case and components.
Mastery of PC builds involves making informed decisions to maximize performance and aesthetics.
Navigating the labyrinth of DIMM slots on your motherboard can significantly influence the compatibility and performance of your PC build. As a first time builder, you might be overwhelmed, so here are some general tips.
Gauge your motherboard needs carefully. For a gaming system, you might need two RAM slots. Ensure the slots can accommodate the heat spreader on your RAM and have space for your hard disk.
If you’re going for M drives, check if the motherboard has an M slot. Look for one that’s not too close to the graphic card slot to avoid overheating.
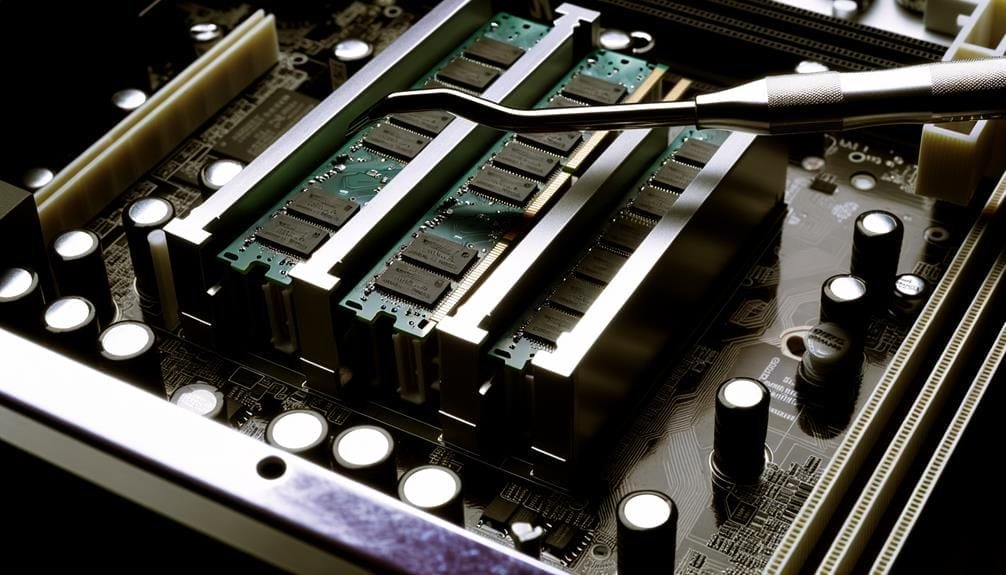
Understanding the importance of DIMM slots in your motherboard is crucial to maximizing memory capacity. The number of these slots directly influences the amount and upgradeability of your system’s RAM.
Often overlooked, the number of DIMM slots on your motherboard plays a pivotal role in determining the maximum memory capacity your system can support. Maximizing memory capacity isn’t just about cramming in as much RAM as you can.
It’s about smart utilization of your DIMM slots based on your memory needs and future upgrade plans. SSDs and hard drives are your secondary storage, connected via SATA cable, but your motherboard’s DIMM slots are where the primary memory lives.
Whether you’re using one M.2 SSD, two M.2 SSDs, or an mP m SSD, remember that your hard drive’s speed won’t compensate for a lack of RAM. So, when selecting a motherboard, consider not just the SATA ports but also the crucial DIMM slots.
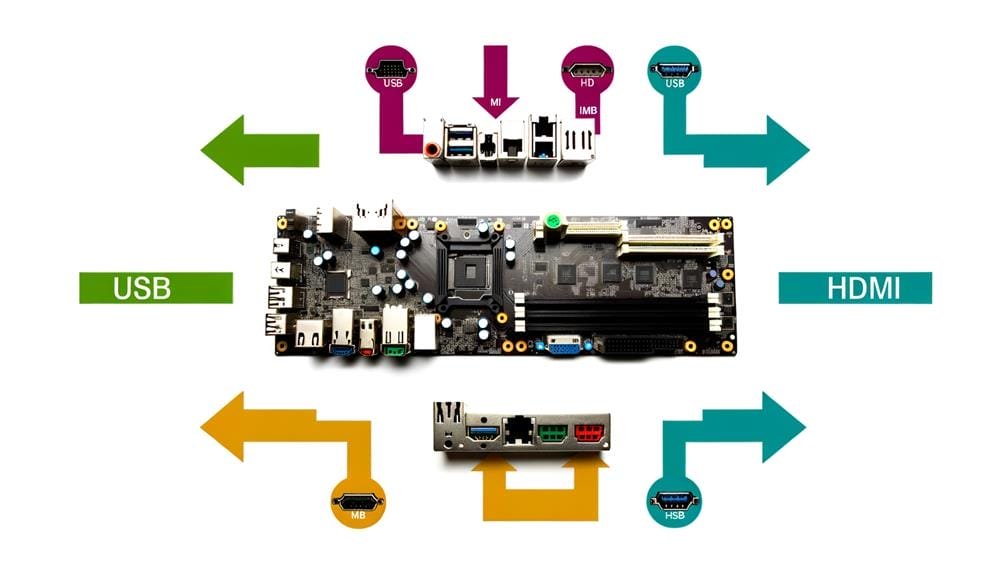
In your quest to master PC builds, evaluating ports availability on your prospective motherboard is a step you can’t afford to overlook.
Start by understanding different port types – they’re not all created equal – and their respective uses.
When building your PC, it’s essential to carefully evaluate the variety of port types available on your chosen motherboard, ensuring compatibility with all your devices.
This includes the horizontal slot for your flash drive and USB ports for devices like your USB drive. The back of your case will house these ports, so they must be compatible with your case design.
Take note of the AM socket for installing an M.2 SSD, a crucial component for fast storage. Also, check for specific ports to connect your RGB and case fans, ensuring they’ll function seamlessly with your motherboard.
As you delve deeper into your PC build, it’s vital to assess the number and types of ports your selected motherboard offers, guaranteeing compatibility with your devices and peripherals.
An adequate port count is power in your hands, allowing connectivity for all your components, RGB lights, GeForce RTX cards, and liquid cooling systems. It’s not just about the current setup but also future upgrades.
Insufficient port availability can bottleneck your system, limiting its potential for content creation or gaming. Be it your operating system’s boot drive or simply an external storage device, every port has its purpose.
Therefore, as a guide to the best PC build, don’t overlook the importance of motherboard port count. It’s about control, versatility, and future-proofing your investment.
When budgeting for a motherboard, you’ve got to strike a balance between cost and performance. It’s not just about finding the cheapest option, but considering factors like chipset compatibility, DIMM slots, and port availability.
Keep in mind, your budget needs to accommodate a motherboard that’s going to support your PC build goals effectively.
You’ll need to carefully consider cost-effective motherboard options that align with your budget, while ensuring that they meet your specific requirements for form factor, compatibility, and features.
Mastering PC builds involves balancing cost and performance. If you decide to go for a micro-ATX form factor, for instance, make sure it fits the kind of case you have. Take a look at the CPU socket type and chipset to ensure it’s compatible with the right CPU you need to use.
An excellent choice for many is a motherboard with good power delivery and heat sinking capabilities. While this mightn’t be the cheapest option, it’s a smart, cost-effective option for most people who value stability and performance in their builds.
Balancing your budget and performance needs when choosing a motherboard requires careful consideration of form factor, compatibility with your chosen CPU, and the necessary ports and expansion slots.
The first thing you’ll want to do is ensure that the top of the chip fits the socket type.
If you’re playing games, it might make sense to invest more in a GPU, so you don’t necessarily need a dedicated, high-cost CPU.
Check the memory capacity – there should be plenty of room for expansion.
Take into account the number of USB and other ports for keeping your system updated and versatile.
Mastering PC builds means having a clear understanding of where to allocate your budget to maximize performance.
Staying on top of motherboard technologies is a must if you want to optimize your PC’s performance and ensure its compatibility with new hardware and software releases. Make sure to regularly check the manufacturer’s website for BIOS updates. These updates address bugs, add new features, and enhance system functionality.
Take full advantage of your motherboard’s capabilities. For instance, X470 motherboards support high-speed RAM. The important thing is to enter the BIOS and enable XMP or DOCP to achieve the advertised RAM speeds, boosting your system performance.
When handling your motherboard, be cautious of the pins on the bottom. Use isopropyl alcohol for cleaning, and always replace the plastic cover. Installation might require some force, but be gentle to avoid damage.
You’ve navigated the sprawling motherboard landscape like a pro. Remember, 70% of gamers claimed motherboard compatibility as their biggest hurdle during building. But you? You’ve mastered chipsets, DIMM slots, and port types.
You’ve juggled budget constraints and kept up-to-date with evolving tech. Now, your GPU isn’t just ready to perform; it’s set to dazzle. Welcome to the elite world of custom PC building.
You’ve leveled up.