Our Newsletter
Sign up for our e-mail newsletter and stay informed for what’s next on the horizon.
We’ve all experienced it: a stubborn PC that refuses to start, an unpredictable system breakdown, or a persistent beeping noise that grates on your nerves.
More often than not, these issues stem from the motherboard, the veritable spine of your PC.
In this guide, we’ll navigate you through an orderly process to detect and rectify prevalent motherboard issues, often starting with a simple step to reseat components.
Initiating with the rudimentary knowledge of your motherboard’s anatomy, we’ll elevate to troubleshooting techniques, and if required, delve into the replacement procedure.
Buckle up, as we’re on a mission to relegate your motherboard worries into oblivion, whether it’s replacing a faulty video card or solving issues with capacitors.
Yet, bear in mind that each problem comes with its unique complexities, forming the crux of the challenge.
Are you prepared to confront it?
In this guide, we delve into practical solutions for handling common motherboard issues, such as overheat and physical damage. We’ll explore everything from power supply mysteries to firmware adjustments, providing you with a toolkit of strategies to tackle your tech difficulties. Whether you’re dealing with hardware swaps or safeguarding crucial data, this guide gives you the necessary knowledge to confidently face these tasks, including how to reset the BIOS safely.
We’ve expanded the scope of motherboard issues using hypernyms and hyponyms, addressing tiny components like transistors and capacitors, and looking at the wider system of the computer. We dissect the structure of the motherboard, exploring parts such as the BIOS, chipset, and RAM slots.
To truly master the art of addressing motherboard complications, we must first dive deep into the world of the motherboard – the central processing unit’s primary circuit board acting as a vital nerve center, interlinking and facilitating dialogue between all integral parts of a computer. It’s our golden key to unlocking optimal computer performance and effective troubleshooting.
The motherboard’s role is to orchestrate the symphony between the computer’s components, including processors and peripherals, guided by the Basic Input/Output System or the Unified Extensible Firmware Interface.
Acquainting oneself with the motherboard’s blueprint and connectors is an essential skill for diagnosing motherboard dilemmas. Recognizing the chipset, socket type, RAM slots, and expansion slots on your motherboard is a cornerstone for compatibility and upgrading. The motherboard may seem like an intricate beast, but comprehending it isn’t as intimidating as it might initially appear.
Choosing the appropriate motherboard can be a delicate task due to its influence on system performance and compatibility, particularly how it routes data and power from one component to another. We must comprehend that our motherboard is more than just a platform for our components – it’s the computer’s command center, a crucial part of our liberty to explore, innovate, and problem-solve.
Now, let’s focus on the initial indicators of motherboard complications.
The primary aspect to scrutinize is a noticeable deterioration in your computer’s operational efficiency, a potential harbinger of an unstable motherboard.
Subsequently, we’ll delve into how discerning abnormal acoustic emissions from your computing device can act as a telltale sign of looming motherboard malfunctions.
In the realm of motherboard troubleshooting, vigilance is key in spotting indications of diminishing performance, potentially caused by a blocked airflow or overheated processor. Prolonged boot-up durations or an abrupt deceleration in computational velocity may be warning signals of impending motherboard malfunction.
Be on the lookout for system collapses, lock-ups, or non-responsive software, and remain vigilant towards BIOS configurations, as these could be compromised by faltering hardware elements. Thermal management problems or atypical acoustics emanating from the motherboard may also suggest a deterioration.
Diagnostic indicators, frequently disregarded, can be crucial instruments for identifying and rectifying incipient complications. By being alert to these symptoms, you’re empowered to intervene prior to a complete system breakdown.
This preventive stance can potentially conserve substantial time, effort, and resources.
In the realm of peculiar acoustics, it’s essential to comprehend that auditory signals such as rhythmic tapping, mechanical humming, or abrasive grating could be harbingers of potential malfunctions within the main circuit board or its associated elements.
The ability to identify these unusual sound patterns, common symptoms of motherboard complications, plays a pivotal role in our comprehensive roadmap for troubleshooting. These errant noises could potentially stem from deteriorating bearings in the central processing unit’s fan or in the power supply modules, suggesting complications within the thermal regulation system.
Swiftly probing these auditory anomalies is crucial to circumvent escalating hardware catastrophes or information erosion. If you find ambiguity surrounding the origin of these sounds, seeking the expertise of a seasoned professional is recommended.
Early detection and resolution of these issues provide a carefree computer using experience, devoid of looming system meltdowns, especially issues located on the motherboard.
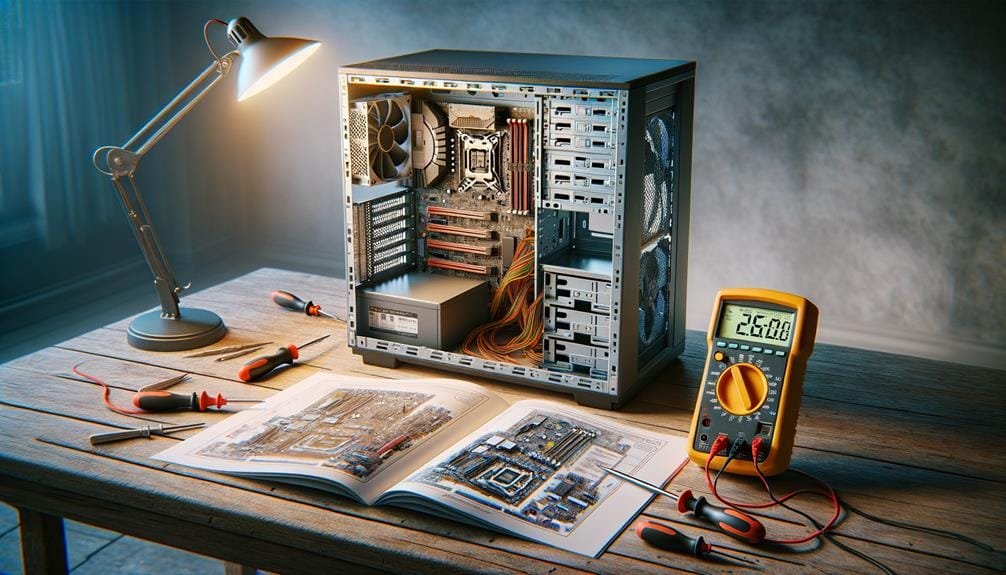
In order to troubleshoot possible mainboard complications, we’ll initiate with an essential power supply examination. This involves the utilization of a multimeter, a versatile device capable of measuring voltage, current, and resistance, hence safeguarding the seamless operation of your computer system.
To affirm the operational integrity of the power supply connected to the motherboard, we’ll adhere to a precise and methodical process:
Power supplies, vulnerable to power surges, are the vital heart of your computing machine, and when issues arise, it’s great it’s checked with a multimeter for continuity. A comprehensive power supply assessment is a necessary preventive step to reinforce your system’s dependability, enabling worry-free computing experiences.
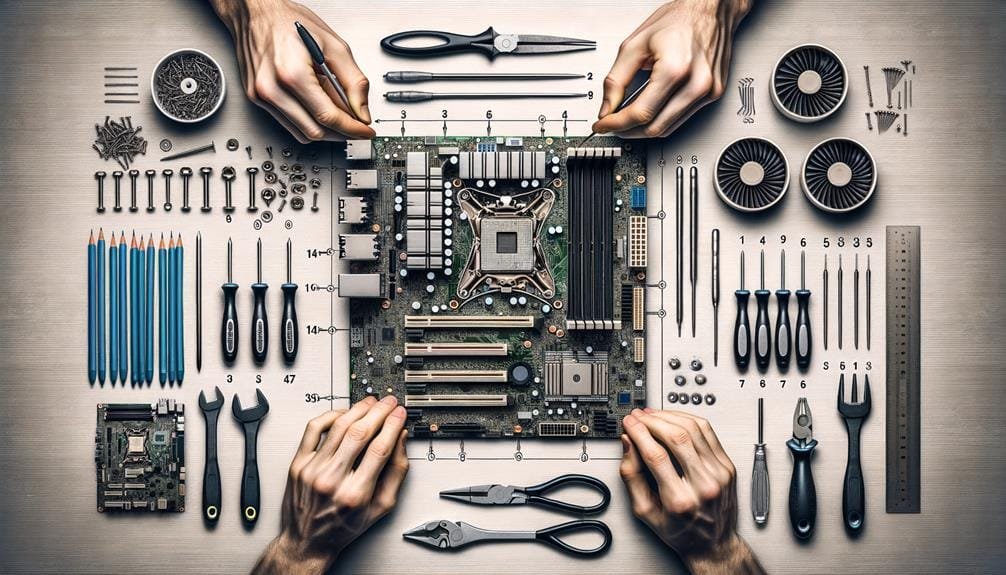
After ensuring the reliability of the power source, we’ll now pivot to the significant task of certifying the proper assembly of the motherboard constituents. This procedure, known as component installation verification, is a cornerstone in guaranteeing a functional system.
Our initial focus will be on the individual elements, including the CPU, RAM, and any auxiliary cards. These components, integral parts of the motherboard’s architecture, should be securely fitted and firmly soldered. They must coincide precisely with their designated slots and connectors, leaving no room for loose links or improperly seated peripherals. Any discrepancy in these connections could result in booting failures or inconsistent system performance.
Subsequently, we’ll scrutinize the internal wiring of the PC case. Unconnected cables, possibly including a connector hidden away by the processor socket, can be a root cause of system instability, a common problem when assembling or upgrading a system. To prevent this, validate that every cable from the power source is solidly linked to the appropriate motherboard connectors, including any connector hidden away by the processor socket.
Lastly, we’ll counter-check the assembly against the motherboard’s manual or accompanying documents. This step ensures that all components align with the manufacturer’s recommended installation and compatibility guidelines.
This process, while intricate, is crucial in building a robust, efficient system and preventing motherboard failure. With each part playing its role in the grand scheme of the motherboard’s ecosystem, precise installation and verification are key to a well-functioning PC, where motherboards are filled with capacitors requiring careful handling.
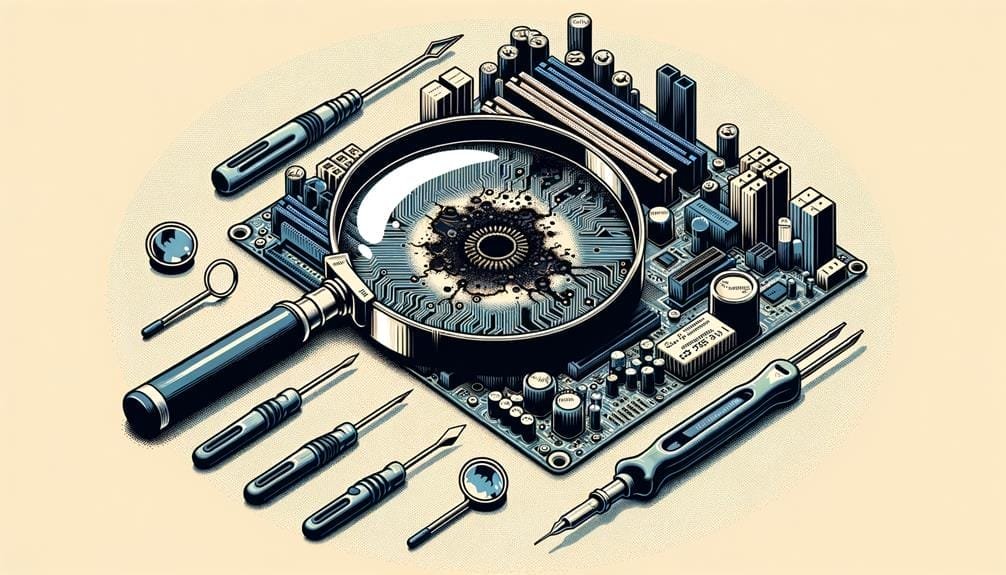
In our pursuit of a faultless digital environment, we’re honing our skills in detecting short circuits on the motherboard— an endeavor that requires meticulous attention to detail and an in-depth grasp of the device’s intricate structure. Short circuits have the potential to transform a fully operational motherboard into an inert component, hindering the motherboard’s Basic Input Output System (BIOS) from initiating the boot-up process.
Here’s our refined list of top 5 strategies for identifying these troublesome electrical interruptions, including examining BIOS settings for abnormalities and using a multimeter to diagnose elusive problems.
Now we pivot to the crucial task of examining the front panel connectors, an integral component in diagnosing motherboard issues.
Our exploration will encompass the recognition of these distinct connectors, rectifying connection problems, and employing secure methods for reattaching.
A thorough scrutiny of these components, which serve as the nerve center for your computing system, ensures the efficiency and peak performance of your device.
Let’s delve in.
Let’s delve into the task of discerning and comprehending the function of front panel connectors, as the motherboard is one crucial area requiring comprehensive understanding. These include integral components such as the power and reset buttons, along with the HDD LED and power LED, which can suffer from physical damage if not properly handled, stressing the importance of gentle manipulation when you try using or unplugging them. Should your motherboard cease functioning, these connectors, which are connected to the motherboard, ought to be your initial point of inspection, along with any signs of damage from a power surge and the need to encounter a motherboard replacement if necessary.
Contemporary motherboards boast a wealth of connectors, each of which could potentially cause problems if not properly managed. Here’s a handy guide to what you should be on the lookout for, including common symptoms of system failures.
These steps provide a comprehensive approach to understanding motherboard connectors, improving your troubleshooting capabilities and enhancing your knowledge of computer hardware.
When faced with potential motherboard complications, our initial strategy is to meticulously examine the front panel connectors, key elements in the grand scheme of computer architecture. It’s important that these connectors are securely fastened to the motherboard, a crucial step when mitigating connection-related issues.
Next, we’ll authenticate the proper electrical polarity and orientation of these connectors, essential to prevent physical damage and ensure the plug is seated properly. Misalignments here can instigate serious motherboard incongruences. We’ll also scrutinize for any deformed or twisted pins on the connectors, obstacles that can disrupt smooth communication between hardware components and port connectivity.
Upon discovering any irregularities, we’ll spring into action to recognize and rectify them, guided by the specific front panel connector configurations detailed in the motherboard manual. Ultimately, we’ll corroborate these modifications in the BIOS, a fundamental component of the system software.
This meticulous approach endows us with the capability to proficiently restore our motherboard to its optimal state.
Mastering the methodology of safely reconnecting front panel connectors, which are connected to the motherboard, is a vital part of addressing motherboard complications. This process necessitates a meticulous identification and evaluation. When updating the motherboard, precision and caution are paramount.
The journey begins with the motherboard guide, which provides a comprehensive blueprint to navigate the front panel connector design.
Each component requires individual disconnection and reconnection, executed with precision and mindfulness, ensuring perfect alignment.
Critical elements such as the power button, reset button, HDD LED, and power LED demand extra vigilance. Their correct connection is the key to booting up the system successfully, and it’s crucial to try using proper techniques when attaching cables.
Handling connectors requires a delicate balance, prioritizing both secure connection and preservation, especially those hidden away by the processor socket on the computer motherboard. It’s not solely about establishing a link, but also safeguarding the integrity of these components against common issues like overheat and physical damage, often by ensuring plugs are correctly inserted.
Lastly, the tiny yet powerful motherboard battery shouldn’t be overlooked.
Before embarking on the intricate journey of refreshing your UEFI/BIOS/Firmware, preliminary steps must involve a thorough perusal of the manufacturer’s guidelines, ensuring you disable any settings that could hinder the process. This action ensures a foolproof and secure upgrade process, particularly vital during BIOS settings adjustments and when power cables are correctly connected.
Commence by navigating to the laptop producer’s official online portal. This digital domain is your trusted source for the most recent BIOS refreshment. It’s vital to steer clear from unofficial platforms, as these pose risks of unreliability and potential system damage.
Upon locating the appropriate BIOS update, proceed to download the freshest iteration. For a seamless update experience, tether your device to a dependable power supply. Any disruptions mid-update can spawn critical complications, hence why circumventing such issues is paramount.
Transition next to initiating the UEFI/BIOS/Firmware upgrade process, an important step to resolve faulty or incompatible BIOS settings. Adhering to the manufacturer’s directives is a crucial component, as procedures may slightly vary across different producers.
Post-update, it’s imperative to authenticate the operational efficiency of the newly installed version, especially to prevent potential issues that could exploit personal information.
Replacing a motherboard, the core of your computer system, mandates a detailed strategy, as this key component forms the central hub of your device’s operations. It extends beyond merely substituting the old computer motherboard with a new; it involves comprehending and addressing any underlying issues, such as a GPU bulge, that may impede your system’s efficiency.
Here’s a streamlined blueprint to facilitate a smooth motherboard substitution, emphasizing the importance of airflow and proper cable management:
The undertaking of a computer motherboard substitution is a task that commands utmost attention. We’re operating on the very essence of our system here, and a single miscalculation could lead to catastrophic results, emphasizing the need for a skilled computer repair technician. Thus, this procedure warrants our full focus and exactitude, and if the problem persists, one might consider the option to buy a new motherboard.
In the realm of data retrieval practices, it is paramount to utilize apparatus such as a multimeter, a POST card, and a backup computer to guarantee meticulous troubleshooting and efficacious restoration.
The multimeter, a pivotal tool in the realm of electrical measurements, gauges voltage, current, and resistance, aiding in the diagnosis of faulty components located on the motherboard. These measurements are critical for identifying potential CPU failure or hard drive anomalies, helping us delve into the underlying issues.
The POST card, an essential component in the world of computer diagnostics, manifests POST codes, translating cryptic error messages into understandable language. This becomes particularly handy when the monitor fails to function or when the error codes are indecipherable, hinting at the need to encounter a motherboard issue head-on with potential replacement options.
In situations where the predicament remains elusive, we may employ a standby computer, a part of our troubleshooting arsenal, equipped with the necessary tools and techniques to interchange and evaluate components. This helps in deducing the root of the problem, be it a glitch in the motherboard, hard drive, or another integral part of the computer system, potentially pinpointing common motherboard problems.
| Instruments | Function | Issue Uncovered: Possible motherboard failure. |
|---|---|---|
| Subsequently, we’ll scrutinize the internal wiring of the PC case to ensure expansion cards and power cables are correctly installed. | Gauge voltage, current, resistance, particularly for components located on the motherboard. | CPU failure, hard drive anomaly |
| POST Card | Manifest POST codes | Operating system glitch, often arising from issues with components located on the motherboard. |
| Backup Computer | Interchange and assess components | Component malfunction, often precipitated by issues like inadequate airflow leading to overheating or sudden shutdowns, can be a critical factor to address to prevent motherboard failure. |
In this comprehensive guide, we’ve delved deep into an array of solutions for averting potential motherboard mishaps. From deciphering power supply enigmas to tailoring firmware, we’ve crafted a toolkit teeming with strategies to alleviate your tech troubles. Whether you’re grappling with hardware replacements or salvaging vital data, this manual equips you with the knowledge necessary to navigate these challenges.
Enriched with the use of hypernyms and hyponyms, we’ve provided a broader context to motherboard issues, addressing everything from its micro components, like transistors and capacitors, to its holonym, the computer system. By employing meronyms, we dive into the structure of the computer motherboard, discussing its parts such as the BIOS, chipset, and RAM slots.