Our Newsletter
Sign up for our e-mail newsletter and stay informed for what’s next on the horizon.
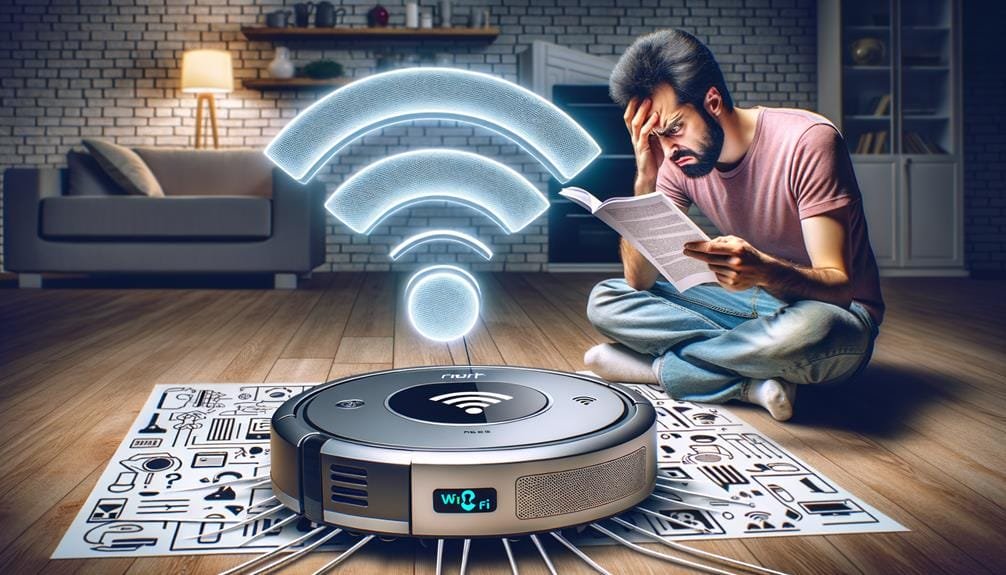
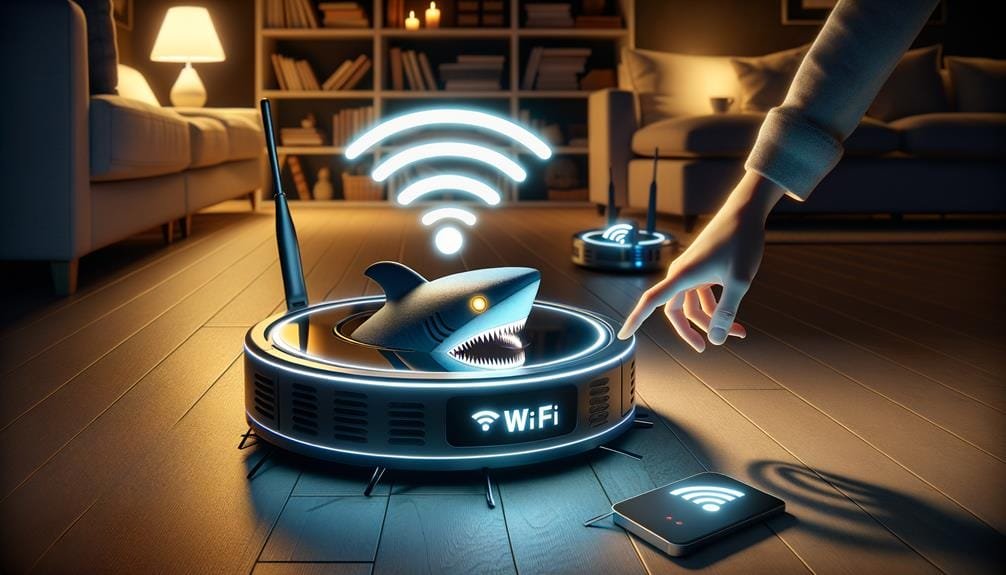
Isn’t it interesting that while we’re talking about modern technology, we’re also looking at how to connect our Shark Robot to a new Wi-Fi network? It’s not as intimidating as it might initially appear.
We’re going to simplify the process, from making sure your robot is turned on and within Wi-Fi range, to verifying a successful connection. But what if you run into issues along the way? We’ll discuss that in our following conversation.
For the moment, let’s concentrate on the first steps to get your Shark Robot connected.
And there you have it! We’ve guided you through the steps for connecting your Shark Robot to a new Wi-Fi network.
Remember, it’s always better to address potential issues with your Shark Robot’s Wi-Fi connection before they become problems – it can save you a lot of trouble down the line.
By keeping your robot’s Wi-Fi connection dependable, you’re ensuring the continued cleanliness of your floors.
Here’s to seamless connections and neater homes!
Familiarizing yourself with your Shark Robot, from its power button to its Wi-Fi indicator light, is vital for successful reconnection to a new Wi-Fi network and ensuring optimal cleaning operations. The power button, situated on the top of the device, is the main control for your Shark Robot. A straightforward press activates or deactivates the device. The Wi-Fi indicator light, positioned next to the power button, blinks when the device is set to connect to Wi-Fi. A constant light indicates a successful connection.
To link your Shark Robot to a new Wi-Fi network, your network password will be required. Ensure the SharkClean app is downloaded on your smartphone. This app will be used to guide your Shark Robot through the reconnection process.
Within the SharkClean app, navigate to the settings menu and choose the ‘Reconnect to Wi-Fi’ option. Follow the instructions displayed on the screen and input your network password when asked. Promptly, your Shark Robot will be back online, prepared for operation. Regular check-ups and updates of the SharkClean app guarantee you have access to new features and monitoring capabilities. This is a crucial aspect of preserving your Shark Robot’s efficiency and lifespan.
While the procedure of reconnecting to a new Wi-Fi network using the SharkClean app is simple, it’s just as vital to comprehend why this Wi-Fi connection is significant for the Shark Robot’s performance and convenience.

Prior to setting up our Shark Robot on the new Wi-Fi network, there are several prerequisites we need to fulfill.
We’ll begin by making sure our device is fully powered and within close vicinity to the Wi-Fi router for a seamless connection.
We’ll also need to have our Wi-Fi network name and password readily available, and the SharkClean application downloaded on our smartphone.
To guarantee a seamless integration of your Shark Robot with a new Wi-Fi network, several crucial preparatory steps are required.
After completing the necessary initial steps, we can now concentrate on collecting the crucial details to link your Shark Robot to the new Wi-Fi network. Begin by ensuring your Shark Robot is fully powered.
Recognizing your WiFi network name and password is vital for the setup. Then, install the Shark Robot mobile app; this will serve as your central hub for controlling the connection. It’s necessary to place the Shark Robot within reach of the new WiFi for a robust, steady connection.
Lastly, ensure your mobile phone is linked to the same network as your Shark Robot. Equipped with these key pieces of information and careful placement, you’re prepared to proceed with the setup.
Let’s guide you through the procedure of finding the WiFi settings on your Shark Robot. These settings can be accessed either via the SharkClean mobile application or directly from the robot’s interface. This procedure is vital for ensuring that your Shark Robot is connected to the appropriate WiFi network and works at its best.
Here’s a detailed guide to assist you in finding these settings:
You should notice a WiFi indicator light on your Shark Robot. It will flash as the robot is establishing a connection with the network. Once it ceases flashing and a confirmation message is displayed, you’ll understand that the connection has been successfully established.

Once you’ve chosen the right network in the WiFi settings, it’s time to input the required credentials, particularly your network name (SSID) and password. This step is vital for setting up a safe and dependable link between your WiFi network and the Shark Robot.
Firstly, make sure you have the right network name and password. These are the access keys to your WiFi network, and without them, connection establishment isn’t possible. With the right details ready, go to the WiFi settings of your Shark Robot using the mobile app. This acts as your control hub for the connection process.
After you’ve reached the right section in the app, you’ll be asked to enter your WiFi password. Enter this information cautiously, as a wrong password will stop the Shark Robot from joining the network. Follow the instructions on the screen meticulously. These instructions are meant to assist you throughout the process, ensuring a smooth connection.
Be alert for a notification or a change in the status of the indicator light. Though it’s not necessarily a conclusive indication of a successful connection, it might be an initial sign of progress. Keep in mind, patience is key during the connection process. Your Shark Robot is inching closer to freely roaming on your new WiFi network.
Once the WiFi indicator light on your Shark Robot stops flashing, this means we’ve successfully connected to the new network. This is the initial step in confirming a successful connection.
Here are four steps to ensure that the connection status is verified:
In line with freedom, transparency, and control, these steps guarantee you’ve successfully linked your Shark Robot to the new WiFi. Being aware of the connection status removes potential concerns and allows you to focus on enjoying the convenience of your automated cleaning companion.

Despite our best attempts, there could be times when your Shark Robot has difficulty connecting to the new Wi-Fi network, leading to the necessity for troubleshooting. We acknowledge your need for flawless technology and will assist you through the process.
A primary step we suggest is confirming your new router’s compatibility with the Shark Robot to avert connectivity problems. All routers have different features, and this could potentially be a cause of the problem.
Then, ensure your Shark Robot’s software is the latest version. An old software version can cause connection issues. Regular software updates can improve the robot’s performance and compatibility with new routers.
If compatibility isn’t resulting in the problem, attempt a basic restart of both the robot and the new router. This method often solves many connectivity issues, working as a reset for the system.
Also, scrutinize your Wi-Fi network password. An incorrect input can inhibit a successful connection. Lastly, if your Shark Robot persistently faces connectivity issues, don’t hesitate to reach out to our devoted customer support team. They’re prepared to provide more troubleshooting assistance, ensuring your Shark Robot can connect to your new Wi-Fi smoothly.
To maintain a consistent WiFi connection for your Shark Robot, positioning your router centrally is a critical step to ensure optimal coverage and powerful signal strength. This thoughtful positioning not only solidifies your Shark Robot’s WiFi connection but also prevents potential connectivity issues that might arise due to physical barriers like walls or metal objects.
Let’s move forward with our four-step guide to maintain a consistent connection:
Lastly, don’t neglect to check signal strength from time to time. This will assist you in detecting and resolving any potential issues swiftly, ensuring your Shark Robot always benefits from a consistent and strong WiFi connection.

Maintaining a dependable WiFi connection is important, but there may be times when your Shark Robot isn’t connecting to the network, necessitating a WiFi reset. This crucial step can help fix connectivity problems and re-establish a secure link to your preferred network.
The procedure is simple. Initially, ensure your Shark Robot is switched on and within the proximity of your WiFi network. Afterward, find the WiFi button on the gadget. By pressing and keeping this button down until the indicator light flickers, you’ll start the reset process.
If you’re unsure, always consult the Shark Robot user manual. It offers specific instructions on how to reset the WiFi connection. This all-inclusive guide is created to assist you in overcoming any technical difficulties and ensuring a seamless and effective reset operation.
So there we’ve it! We’ve assisted you in navigating the process of linking your Shark Robot with a new Wi-Fi network.
Don’t forget, prevention is better than cure – being proactive in sorting out your Shark Robot’s Wi-Fi problems will save you a heap of hassle in the future.
Ensure your robot’s Wi-Fi connection remains reliable, and it’ll continue to keep your floors immaculately clean.
Here’s to uninterrupted connections and tidier homes!
We’re setting the Shark Robot to pairing mode by pressing and holding the WiFi button until it starts to flash. This enables the robot to search and create a connection with our control app.
To reset our Shark vacuum, we locate the reset button on the bottom. Using a paperclip, we press it for a duration of 10-15 seconds until the lights flicker. After this, we allow the vacuum to power off before turning it on again.
Yes, it’s possible to operate a Shark AI Robot without Wi-Fi. However, doing so means relinquishing access to updates, remote control features, scheduling capabilities, and advanced settings. Therefore, it tends to be more practical when Wi-Fi is connected.
Strangely enough, your Shark Robot isn’t charting its path because it’s incapable of doing so. It’s engineered to clean in an arbitrary manner, utilizing sensors instead of creating a map. This doesn’t impede its cleaning; it effectively manages diverse floor surfaces without the need for mapping technology.
Sign up for our e-mail newsletter and stay informed for what’s next on the horizon.